Now that the shortest day has passed, Katie has been busy in the garden getting the onions and garlic into the ground - apparently the best time to do so. Hopefully we'll have a good crop from these.
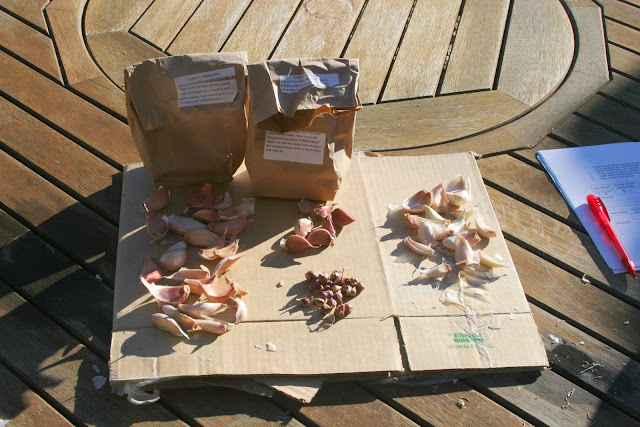
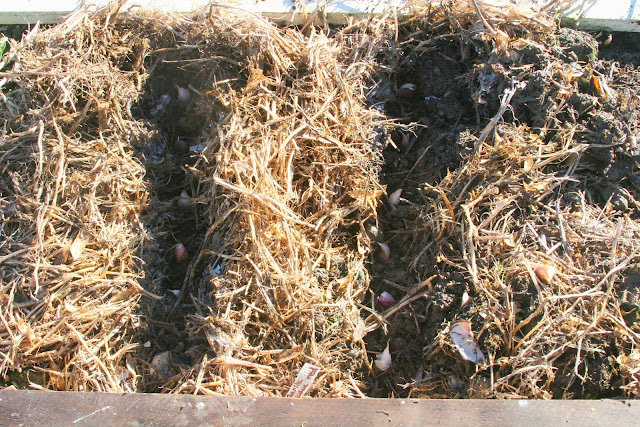
However I'm really thinking of doing some guerrilla style planting instead, ie. just planting these things anywhere and everywhere there is fertile soil in areas that are more or less suitable and seeing what happens. This could go nicely with our idea of planning our entire site as a food forest, a permaculture design idea where the fruit trees and the undergrowth complement each other and work together to support each others survival. This means that after a few years of baby sitting, hopefully the place will take care of itself. The traditional planting of an orchard just sounds like too much hard work to us ... however before we put any of it to practice, there is much reading and consultation to still do. We will need in some areas to recondition the soil and bring up the ecology and fertility that will help everything start off well.
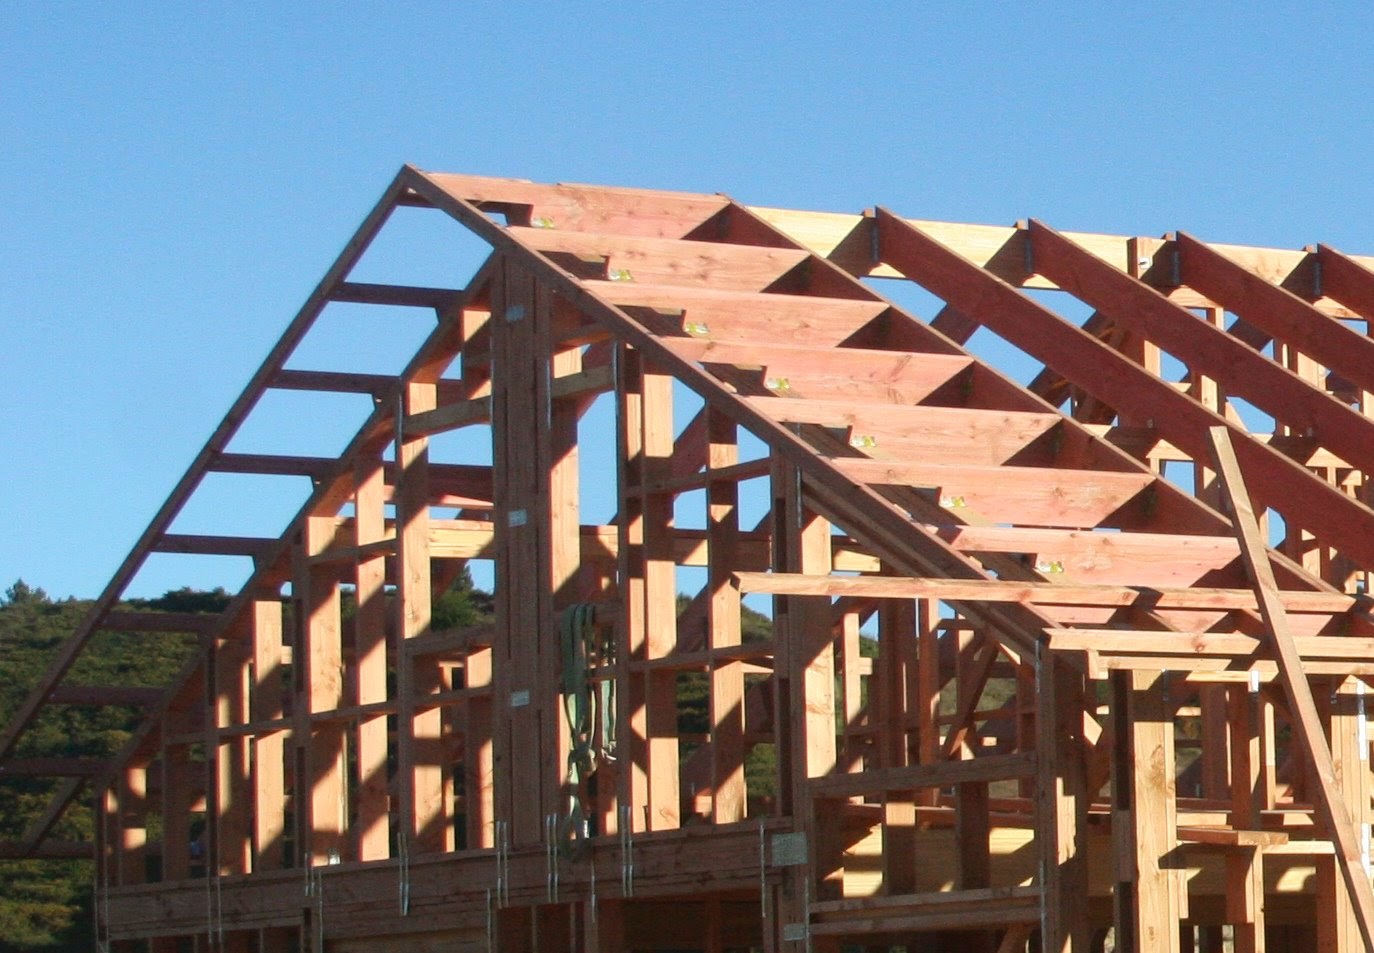
The house build is still pushing along. Since my last report, the rafters and purlins have now been added to the building. The builders tirelessly work in all weather conditions to push things along.
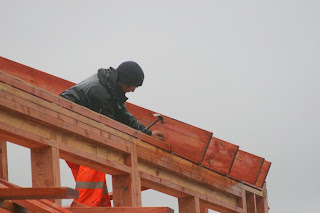 |
| Kenny attaches the rafters as they go up. |

Here you can see all the rafters are up on the north and south
sides. The rafter lengths were just shy of 6m, which for the 245x45
beams used were on the limit of what is easily available as source material in NZ.
Most of the longer beams are exported as premium products to other countries. To
complete the eave/soffit overhang, rafter extensions were added for the
600m and 1000m north and south lateral projections respectively. Each of the extensions extend
back into the rafter the same amount and are fastened with nails, hex
bolts, and two CPC40 brackets either side (two hex nut screws and 4 nails each). The rafters attach to the top
beam via joist hangers and form a strong structure. If you look closely, you will see that the rafter is supported roughly in the middle of the span
by an internal wall both on the north and south sides. This shorter span
reduces the specification of the rafter's sizing -
however I think we over sized them to have
additional insulation in the rafter cavity later on.
 |
South side rafter extensions, with a 1000mm lateral projection.
|
Immediately following are the outriggers on the east and west ends of the gable roof. These were fashioned out of the same rafter beams but cut to size to produce a soffit extension 600mm out. This figure seems an odd number, but the size of the material to cover the soffits come in 1200 widths, making it easy (less wasteful) to split in two. The outriggers rest of the edge of the top storey wall frames and are attached to the closest rafter by multi-grip metal brackets.
The metal bracing that goes into a house is fairly substantial. There are both tension and compression fittings that ensure the house is able to cope with forces ranging from earthquakes and also lifting and pushing forces from wind. Below you can see the strip metal braces that adorn the studs and tie the bottom and top wall plates to the them. Tylok plates are also used (the flat plate with lots of nail looking things in them) to ensure that multiple adjacent studs are all held together and don't separate. Strip bracing is also applied around all the lintels; a piece of wood above every window and door opening to redirect the forces above the opening around the side posts.
 |
| Lintel metal strip bracing together with the tylok plates added to the framing detail. It was my job to hammer in product nails into the strip bracings, which I had not yet done at the time this picture was taken. |
 |
| More strip bracings, some of which were for tying down the top walls to the bottom walls. |
 |
| Bottom plate strip bracing positioned ready for hammering. |
 |
| These Handibracs (HB) were added to the walls that were defined as bracing walls. Pretty much all external walls, and some crucial internal walls are defined as such. The blue hex bolt in this case fixes the bottom bracing wall frame to the concrete, and the smaller hex screws attach the metal plate to both the bottom wall plate and stud. There are two of these brackets required per bracing wall element, which translates to ... lots! For the top storey frames, the same bracket is used for the bracing walls there, but a wooden coach screw is used instead of the concrete nut. |
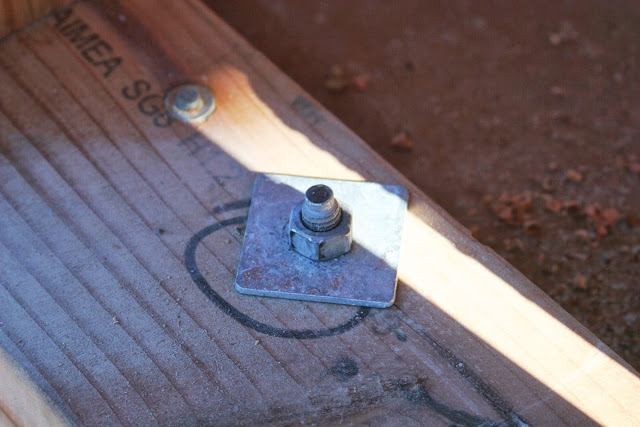 |
| In addition to the Handibracs, these Thrubolt and washers are added at every 600mm centres which helps tie the bottom plate to the concrete floor. These have a wedge shape bolt going into the concrete which expand a metal collar as the nut is done up. This catches into the concrete and compresses the washer and bottom plate to the concrete as the nut is tightened further. |
 |
| The house as it is currently. |
 |
| Here you can see the progress of all 3 of the houses where construction began almost at the same time. The one at the bottom of our hill is certainly the fastest so far. It is attributed to its smaller size, but also due to the fact that it is a "kit" house which had already been built once before by the same builder. There are certainly advantages going that route. |
Next ... the front entrance porch. The foundations were dug, boxed up, prepared with damp proofing, insulation, mesh and poured in about 1 day. This was not done as a rib-raft slab, and instead just a standard ring foundation which ties into the main slab with metal re-bar. The re-bar are glued into holes that are drilled into the main slab and a concrete adhesive used to hold them in place. They are then tied to the main mesh to form a cohesive surface. We decided to rebate the floor down 20mm from the main floor, so that we can tile it later. This was easier than matching the colour of the main floor with the same concrete colouring.
We had initially considered not pouring this floor and to have a beam and rafter porch without enclosing it. However upon further discussion with the builder, it seemed sensible to enclose the area as it makes the building wrapping, weatherboard placement and most importantly flashings, more definitive. In order to put the walls there however the slab is required. The walls are able to take the weight of the entrance porch roof, which we decided to use trusses instead of beam and rafters to help save cost. Although this means we have a lower ceiling in the entrance way, there is still a 2600mm stud in this room which gives a similar effect of spaciousness despite the small footprint. This was a cost trade off we were willing to make.
 |
| The quality assurance team seem to be happy with the work so far. |
 |
| Tada! ... somebody ordered a concrete floor? |
The wall frames were then built on site and put up on the now completed floor, as below.
We will be putting in some Macrocarpa beams on each of the side walls which will extend out past the front wall to make up a cantilevered eave. The aim at the end of the day is to hopefully have a continuum of spaces from uncovered outside-> covered outside->porch entrance (for coats, shoes and boots), then cosy warm inside.
We have also since got delivery of our Larch Bevelback Weatherboards which I have been oiling with a local product from
Natural House. The kids were only too keen to help out and had great fun doing so. Jordan couldn't stop grinning saying over and over again that he was a "real builder". Certainly glad the kids could contribute meaningfully to this chapter of our lives.
We have made some changes to the plans which will require an amendment be made to the council before work can carry on. Once this is done the building can once again progress towards getting the roof on. We would then have reached the half way point and will be on the "home" run. Here's hoping that progresses soon!
Later folks ...


must be exciting for the children to see their house being built.
ReplyDeleteone thing i did was when the wiring was in place befor the lining was on i took pictures of all the wires going down walls so that futur alterations to the wiring can be easy as you know where every wire goes
Hi Kay, yes I did this for our shed, and intend to do the same for the house. There will also be ducting and potentially also a sprinkler system in there, so it could be a busy ceiling.
Delete